If you are running a WordPress website, security should never be optional. By default, WordPress uses predictable database settings like wp_ as a table prefix and common usernames such as root. These defaults make life easier for developers but also for attackers.
In this guide, we’ll go deeper :
- How WordPress connects to a database
- The difference between local environments (Local WP vs XAMPP/MAMP)
- How to safely change database name, username, and password
- How to change the table prefix
- And how to avoid breaking your site
And the best part : no plugins needed.
Understanding How WordPress Connects to the Database
WordPress doesn’t “guess” your database. It reads everything from one file:
/public_html/wp-config.phpInside, you’ll find :
define( 'DB_NAME', 'database_name' );
define( 'DB_USER', 'username' );
define( 'DB_PASSWORD', 'password' );
define( 'DB_HOST', 'localhost' );
Think of this as a login system.
If any value is wrong, WordPress immediately stops and shows :
Error establishing a database connectionThat’s why changing database settings is not just editing a file. It’s syncing your database system and WordPress together.
Local Environments : Not All the Same
Before changing anything, you need to understand your setup.
1. Local (by Flywheel / Local WP)
Local WP is designed for simplicity.
- Database is automatically created
- Credentials are managed internally
- Often uses : username : root, password : root or auto-generated
- You don’t usually interact with MySQL directly
👉 Important : If you change credentials manually, Local may override them or break the connection.
✔ Best practice :
- Use Local’s built-in database tools
- Avoid manual credential changes unless necessary
2. XAMPP / MAMP / WAMP
These are more “manual” environments.
- You control MySQL directly
- phpMyAdmin is available
- Default setup : username : root, password: (empty)
👉 This is where learning happens. You can :
- Create databases
- Create users
- Assign permissions
- Fully control everything
Step 1 : Changing the Database Name
⚠️ Before making any changes, always export a full backup of your database and files. One mistake can break your site completely.
In XAMPP / MAMP :
1. Open phpMyAdmin :
http://localhost/phpmyadmin2. Select your database
3. Go to Operations → Rename database
If rename is not available :
- Export the database
- Create a new one
- Import it again
Then update your wp-config.php file :
define( 'DB_NAME', 'your_new_database_name' );
In Local WP :
In Local WP, changing the database name is simple. Just open Adminer (or database tool inside Local WP), then :
- Open the built-in database tool (Adminer or similar)
- Select the database
- Go to Alter Database
- Enter the new name and save
The change is applied automatically inside the local environment.
Step 2 : Changing Database Username and Password
This step is mainly used in XAMPP, MAMP, and hosting environments, where you manage MySQL manually.
In Local WP, database credentials are usually pre-configured and do not need to be changed.
Create a New User (XAMPP / MAMP / Hosting)
In phpMyAdmin :
- Go to User Accounts
- Click Add User
Example :
Username: wp_secure_user
Host: localhost
Password: strong_password
✔ Check : Grant all privileges
Assign User to Database
This step is critical.
- Link the new user to your database
- Give ALL PRIVILEGES
Without this, WordPress cannot access your data.
Update wp-config.php
define( 'DB_USER', 'wp_secure_user' );
define( 'DB_PASSWORD', 'strong_password' );
Note for Local WP Users
In Local WP :
- Credentials are handled automatically
- Usually root with no password
- Manual changes are not required unless migrating to live hosting
Step 3 : Testing the Connection
After making changes, reload your website.
If everything is correct, your site will load normally.
If not, you’ll see :
Error establishing a database connection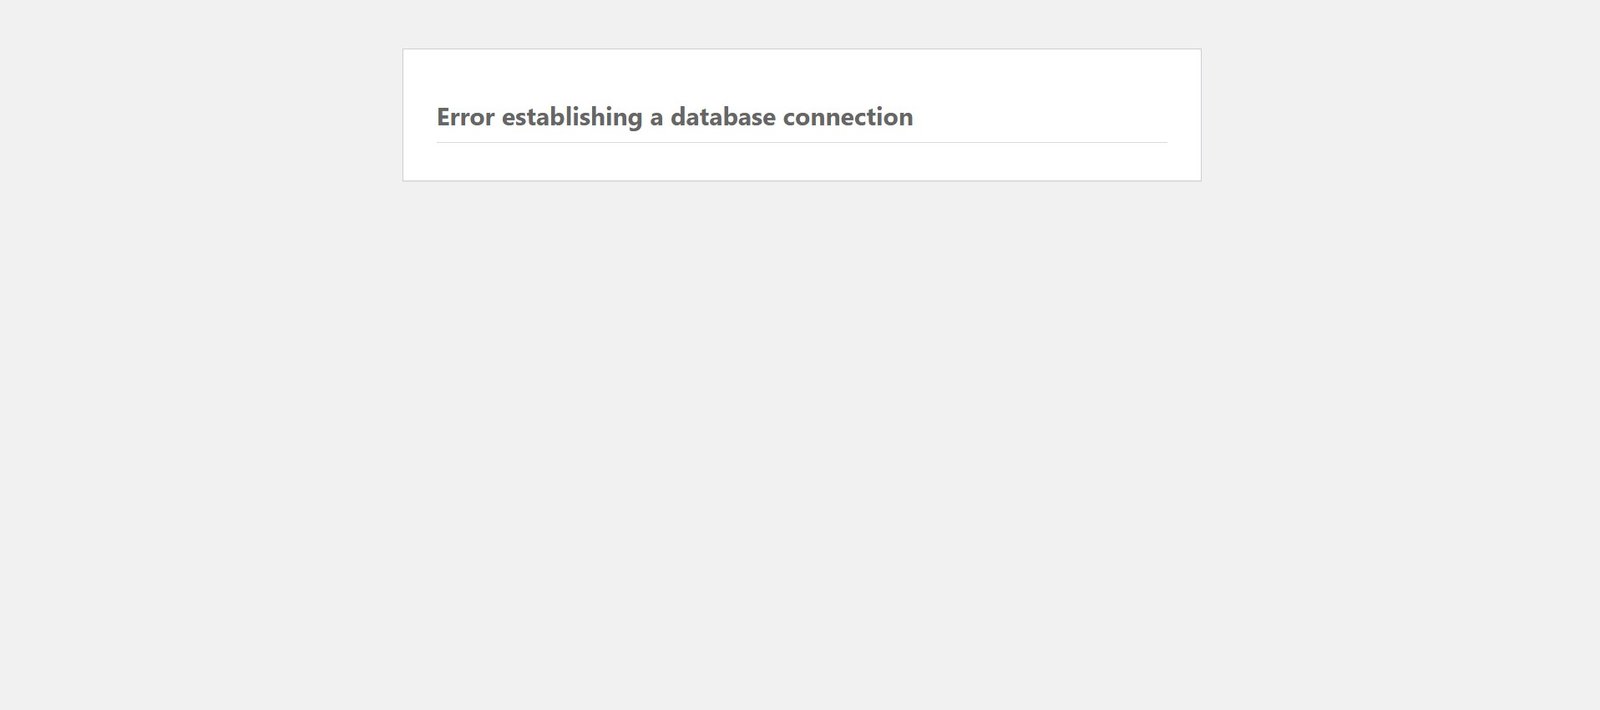
Check :
- Database name
- Username
- Password
- User permissions
Changing the Table Prefix (Very Important)
This process of changing the table prefix is the same whether you are working with XAMPP, MAMP, or Local WP, since in all cases you are interacting with the WordPress database directly, either through phpMyAdmin, Adminer, or an exported SQL file.
By default, WordPress uses :
$table_prefix = 'wp_';This is one of the most common targets in automated attacks. Many bots assume your tables are named like :
- wp_users
- wp_posts
- wp_options
So changing this prefix adds an extra layer of protection.
Step 1 : Change the Prefix in wp-config.php
Open wp-config.php, Find :
$table_prefix = 'wp_';Change it to something unique :
$table_prefix = 'prx9_';⚠️ Don’t refresh your site yet.. it will break.
Step 2 : Rename All Database Tables
Now go to phpMyAdmin and run these SQL queries :
⚠️ Replace prx9_ with the prefix you chose earlier (for example: web15_, abc123_, etc.):
RENAME TABLE wp_comments TO prx9_comments;
RENAME TABLE wp_commentmeta TO prx9_commentmeta;
RENAME TABLE wp_links TO prx9_links;
RENAME TABLE wp_options TO prx9_options;
RENAME TABLE wp_postmeta TO prx9_postmeta;
RENAME TABLE wp_posts TO prx9_posts;
RENAME TABLE wp_terms TO prx9_terms;
RENAME TABLE wp_termmeta TO prx9_termmeta;
RENAME TABLE wp_term_relationships TO prx9_term_relationships;
RENAME TABLE wp_term_taxonomy TO prx9_term_taxonomy;
RENAME TABLE wp_usermeta TO prx9_usermeta;
RENAME TABLE wp_users TO prx9_users;
After running these queries, you also need to update internal WordPress references stored inside the database.
Run the following SQL queries in phpMyAdmin :
UPDATE prx9_options
SET option_name = REPLACE(option_name, 'wp_', 'prx9_')
WHERE option_name LIKE 'wp_%';

UPDATE prx9_usermeta
SET meta_key = REPLACE(meta_key, 'wp_', 'prx9_')
WHERE meta_key LIKE 'wp_%';
WooCommerce Tables (If Installed) :
/* WooCommerce tables (if WooCommerce is installed) */

RENAME TABLE wp_wc_admin_notes TO prx9_wc_admin_notes;
RENAME TABLE wp_wc_admin_note_actions TO prx9_wc_admin_note_actions;
RENAME TABLE wp_wc_category_lookup TO prx9_wc_category_lookup;
RENAME TABLE wp_wc_customer_lookup TO prx9_wc_customer_lookup;
RENAME TABLE wp_wc_download_log TO prx9_wc_download_log;
RENAME TABLE wp_wc_orders TO prx9_wc_orders;
RENAME TABLE wp_wc_orders_meta TO prx9_wc_orders_meta;
RENAME TABLE wp_wc_order_addresses TO prx9_wc_order_addresses;
RENAME TABLE wp_wc_order_coupon_lookup TO prx9_wc_order_coupon_lookup;
RENAME TABLE wp_wc_order_operational_data TO prx9_wc_order_operational_data;
RENAME TABLE wp_wc_order_product_lookup TO prx9_wc_order_product_lookup;
RENAME TABLE wp_wc_order_stats TO prx9_wc_order_stats;
RENAME TABLE wp_wc_order_tax_lookup TO prx9_wc_order_tax_lookup;
RENAME TABLE wp_wc_product_meta_lookup TO prx9_wc_product_meta_lookup;
RENAME TABLE wp_wc_webhooks TO prx9_wc_webhooks;

RENAME TABLE wp_woocommerce_sessions TO prx9_woocommerce_sessions;
RENAME TABLE wp_woocommerce_api_keys TO prx9_woocommerce_api_keys;
RENAME TABLE wp_woocommerce_order_items TO prx9_woocommerce_order_items;
RENAME TABLE wp_woocommerce_order_itemmeta TO prx9_woocommerce_order_itemmeta;
RENAME TABLE wp_woocommerce_payment_tokens TO prx9_woocommerce_payment_tokens;
RENAME TABLE wp_woocommerce_payment_tokenmeta TO prx9_woocommerce_payment_tokenmeta;
Action Scheduler (used by WooCommerce & plugins)
RENAME TABLE wp_actionscheduler_actions TO prx9_actionscheduler_actions;
RENAME TABLE wp_actionscheduler_claims TO prx9_actionscheduler_claims;
RENAME TABLE wp_actionscheduler_groups TO prx9_actionscheduler_groups;
RENAME TABLE wp_actionscheduler_logs TO prx9_actionscheduler_logs;
Instead of manually rewriting your prefix in every SQL line, you can save time by copying the code into an editor like Visual Studio Code. Then simply click on prx9_, press Ctrl + Shift + L (select all occurrences), and replace them all at once with your own prefix. This way, you don’t have to edit each line manually and you avoid mistakes.
Final Thoughts
Understanding how WordPress connects to its database gives you full control over your website.
Once you master :
- Database connection
- User management
- Table prefixes
You are no longer just using WordPress, you are controlling it.